

A few months ago my friend Terese gave me this nasty old raggedy storage ottoman. Apparently she saw potential in it and potential in myself to do something with it.


I let it sit in my garage for awhile because I really didn’t know what to do. I had never reupholstered/recovered anything and I figured the first time I did would be on something flat and square. But last Monday I got an itch to check it out. I had just bought this gorgeous fabric I was originally going to use to recover some pillows, but I thought it would look great on an ottoman and perfect in our master bedroom.
The first thing I did was take off the zipper it came with. Then I cleaned it up.


Then I sat for a while and thought about how I was going to recover it. I think I had imagined that I would just cut out a piece a fabric and staple. But then I realized if I did that there would be so many wrinkles. So then a light bulb went off in my head and I realized I would have to sew. I would have to go outside of my sewing comfort zone and sew something other than napkins and pillows.
It was with this project that I realized sewing involves so much math and a lot of guess and check. I couldn’t find a tutorial on an ottoman like this so if you think there is a better way to do it, or have any suggestions, please let me know.
The first thing I did was measure the circumference of the ottoman, 56 inches, and the length, 14.5 inches . I added one inch to the circumference for seam allowance, 57 inches, and 4 inches to the length to be able to staple it at the top and bottom, 18.5 inches. I made my cuts, sewed the seam and placed it over the ottoman with 2 inches of overhang on the top and bottom.


At first the fit was pretty snug but it definitely loosened up so much that I should’ve taken the seam in a little. But I didn’t. Maybe with the next on I will.
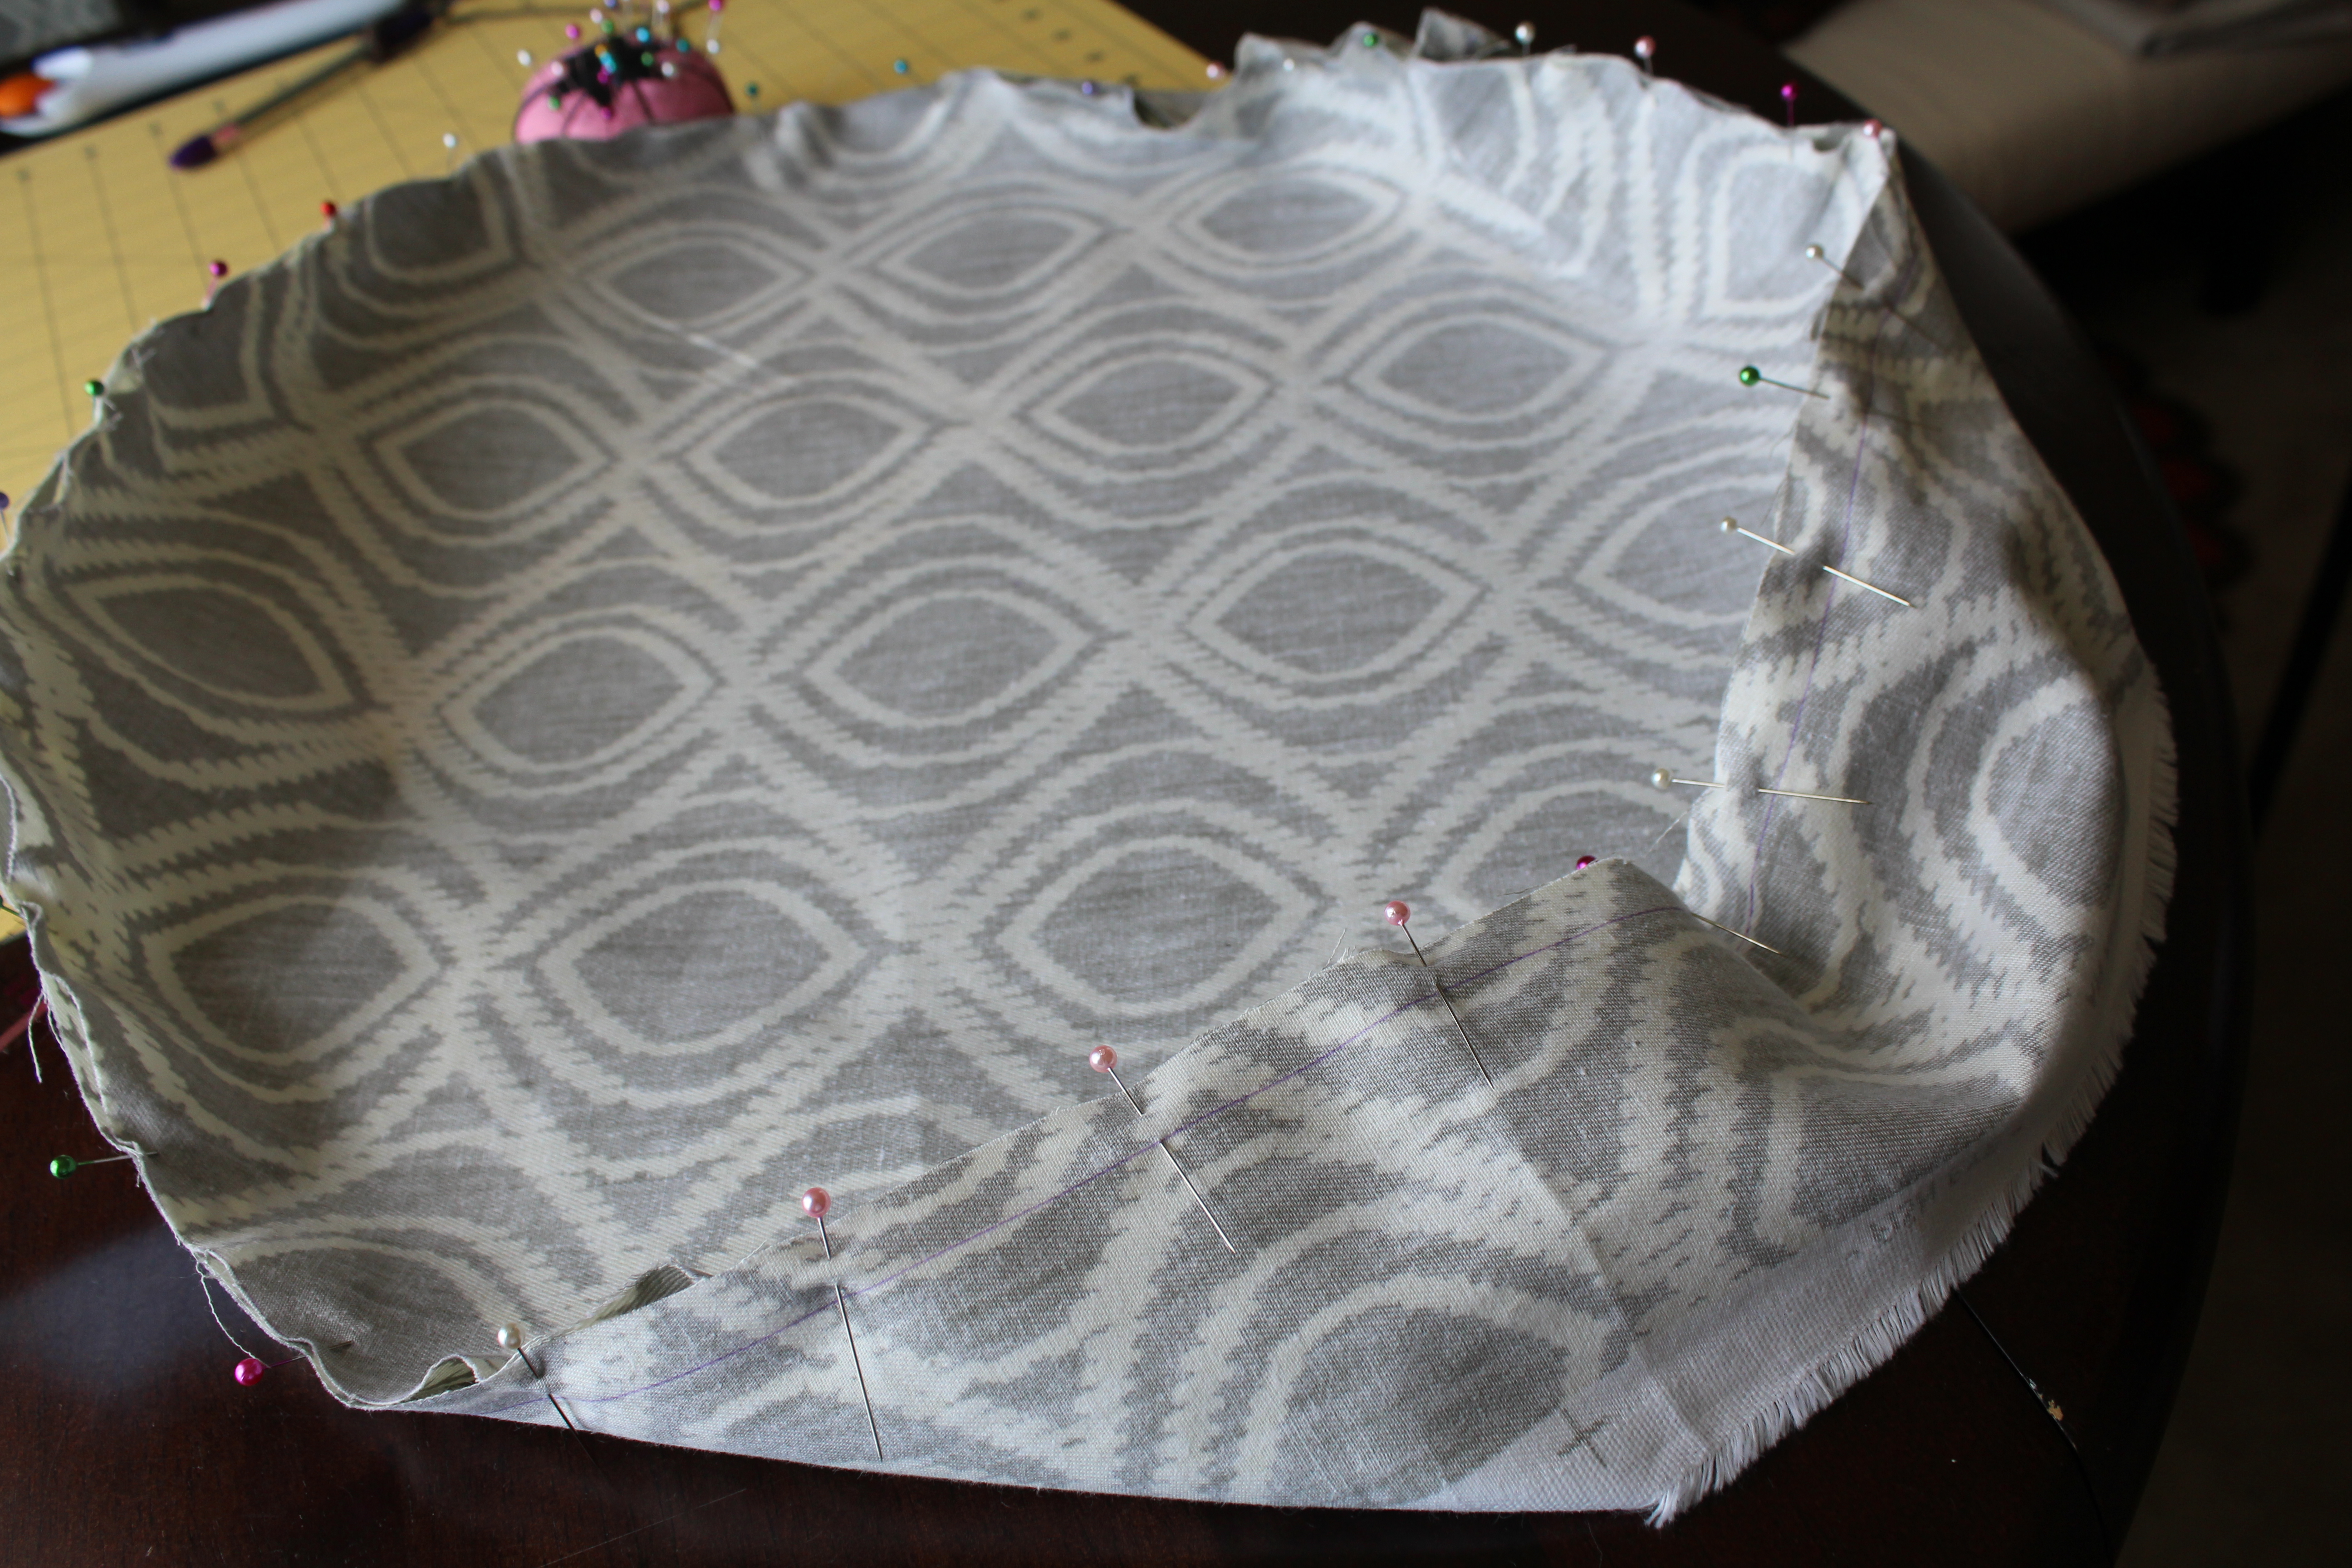
Then it was time for me to move on to the lid or top of the ottoman. I measured the top which was 17.5 inches in diameter. I added an inch to that for a half inch seam allowance and cut an 18.5 inch circle.

Then I measured the height of the side of the lid which was 2 inches. I added 2 inches to that so I would be able to fold the fabric under the lid a staple. So I cut a strip of fabric that was the circumference of the ottoman plus one inch (57 inches) by 4 inches. I then sewed that piece together to create a band around the lid.

Then I took the finished band and pinned it to the circle and sewed it with a half inch seam allowance.


By the time I was this far, my staple gun arrived. Yes, I started this project without a staple gun.

I started with the lid, folding the fabric under and placing a staple every couple inches.


Then I repeated that same process for the bottom of the ottoman and this is how it turned out.


Not bad I think. And now I love where it sits in our master bedroom. There’s a little corner in our room that I’ve been meaning to turn into a reading nook with a gallery wall. My intentions have been great but for months that corner has looked like this – a big blue chair with a random pillow and a bunch of frames that will eventually be used to make a gallery wall.

And now that corner of the room looks like this – new ottoman and a new pillow. The frames still aren’t up but it already looks so much better.


Awesome! after, great job and loving the pattern. visiting from the blog hop and now a new follower, stop by designitgirl and say hi!
Thanks Nicole! I’ll be sure to check out your blog.
What a great tutorial it turned out great. Thank you for visiting NFL Season Blog Hop Blitz.
Easy Life Meal and Party Planning – Co Host
Thanks Shawna! I’ll be sure to continue checking out your blog hops =)
Wonderful job! I love how your reading nook is coming together. It looks so cozy and comfortable.
Thank you so much! Can’t wait to finish it.
Great makeover!
Thanks Annie!
Coming over from the pinterest power party…just pinned this great tutorial! Stop by bddesignblog.com and say hi 🙂
Pingback: This Momma's Meandering Mondays 12! » This Momma's Ramblings
Pingback: Meandering Mondays - Latina Mama Rama
I have an ottoman that I have wanted to cover for over a year now. The fabric is torn and it looks terrible. I really appreciate the tutorial this week!! (Sharon) Thanks for sharing it with us.
You’ve been FEATURED at the BeBetsy BRAG ABOUT IT.
Feel free to grab yourself a featured button or just link to the post. Our next party starts at midnight tonight… SO SEE YOU THERE!
Sharon and Denise ♥
Pingback: This Momma’s Meandering Mondays | Epic Mommy Adventures